Start with Bob’s Red Mill Gluten-Free 1:1 Baking Flour with xanthan gum, then whisk it with cornstarch, baking powder, baking soda, and salt. In another bowl, beat eggs, sugar, oil, melted butter, buttermilk, and vanilla until smooth. Add your dry mix to the wet ingredients in portions, beginning and ending with flour, and stop when no streaks remain. Pour into two oiled, parchment-lined 8-inch pans and bake at 350°F for 25–30 minutes. Cool completely before frosting. Additional techniques for dairy-free swaps and storage methods are available in the sections below.
Gather Your Gluten-Free Cake Ingredients

You’ll need a few key items before you start mixing. Grab Bob’s Red Mill Gluten-Free 1:1 Baking Flour with xanthan gum for your gluten-free flour base. Add cornstarch, baking powder, baking soda, and salt to your dry pile. Set these aside in a bowl.
Now collect your wet ingredients. You’ll need eggs, granulated sugar, vegetable oil, melted unsalted butter, buttermilk, and vanilla extract. Keep these at room temperature so they blend smoothly.
Don’t skip pan preparation. Line two 8-inch round pans with parchment paper, then brush the sides with oil. You can use one 9×13 pan instead if you prefer.
Want a dairy-free cake. Swap in dairy-free sour cream and milk. Measuring and preparing everything in advance reduces stress during the baking process.

Versatile Baking: Perfect 1:1 substitute for wheat flour in non-yeasted recipes, ideal for gluten-free cookies, cakes, muffins, and pancakes. Simplify your gluten-free baking with this all-purpose flour alternative.

GLUTEN FREE MADE EASY: Bob’s Red Mill expertly crafted a one-to-one blend of gluten free flours, starches and xanthan gum; effortlessly transforms traditional cookies, cakes, brownies, muffins and pancakes into gluten free treats

Mix Wet and Dry Ingredients the Right Way
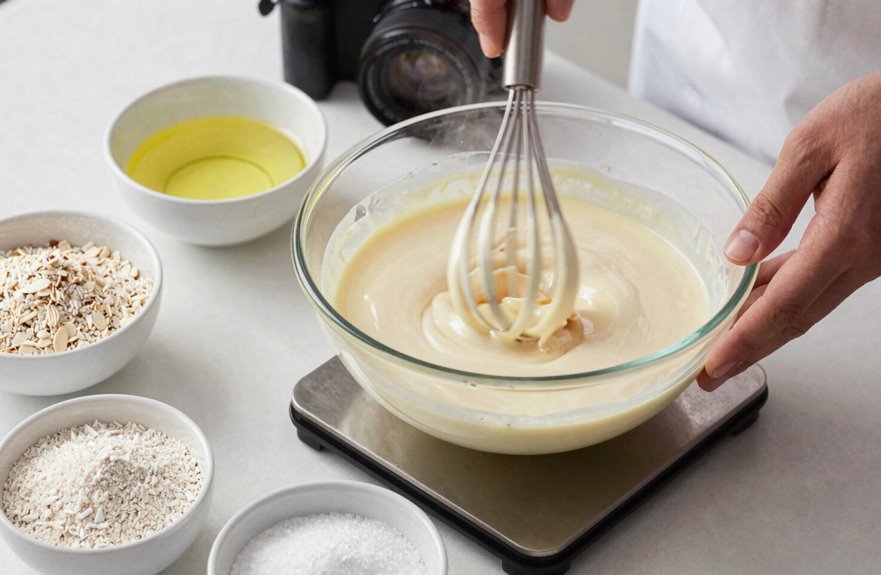
You’ll start by beating your eggs, sugar, oil, butter, buttermilk, and vanilla until they’re smooth and creamy. While that’s mixing, whisk your gluten-free flour blend, cornstarch, baking powder, baking soda, and salt in a separate bowl so everything’s evenly distributed. Then you’ll add the dry mix to your wet ingredients in portions, alternating with splashes of buttermilk, beginning and ending with the dry stuff to keep your batter light and tender.

Twice the Thickening Power of Flour: Delivers double the thickening strength of standard all-purpose flour, allowing you to use half the amount in your recipes to achieve the perfect consistency.
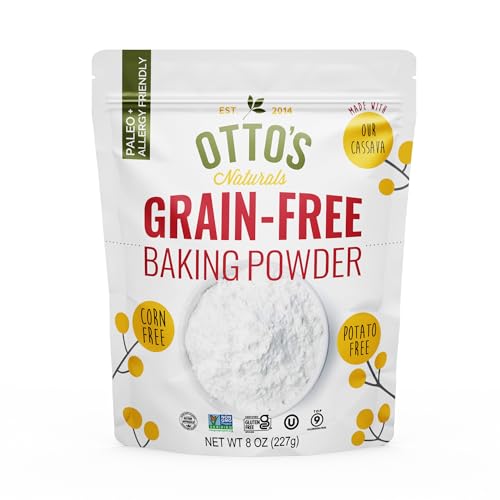
100% Grain-Free, Corn-Free & Nightshade-Free (Potato-Free): Otto’s baking powder is made without grains, cornstarch, or potato starches, offering a cleaner, allergen-friendly alternative for your family’s favorite bakes

TEXTURE & FLAVOR - Our baking powder helps create the perfect texture in your baked goods, making them soft, tender, and delicious. Whether you're baking cookies, cakes, bread, muffins, or even using our baking powder for cooking, it will deliver consistent and reliable results every time.
Whisk Wet Ingredients First
Whisking the wet ingredients first sets you up for a smooth, lump-free batter. Grab your eggs, sugar, oil, vanilla, and sour cream if you’re using it. Pour them into a large bowl, then whisk wet ingredients together until they’re fully blended and slightly frothy. Gluten-free flours need extra help spreading evenly through your cake, so this step is essential.
Once your wet ingredients look uniform, add your dry mix in portions. Alternate with milk to keep everything hydrated. Stop and scrape the bowl’s bottom and sides so nothing hides in the corners. Fold gently until just combined, then pour into your prepared pans. This technique produces a cake that rises evenly and delivers consistent results.
Sift Dry Before Adding
Three key ingredients (flour, leavening, and salt) need a head start before they meet your wet mixture. You’ll want to sift your gluten-free flour blend with cornstarch, baking powder, baking soda, and salt. This spreads the leavening evenly and breaks up clumps that hide in gluten-free flour.
- Use a whisk or fine mesh strainer if you don’t own a sifter
- Measure by weight or spoon-and-level for steady results every time
- Scrape the bowl’s bottom and sides so no dry pockets remain
After sifting, whisk your dry ingredients separately. Then you’ll add them bit by bit to your wet mixture. This keeps your batter smooth without overmixing. Stop when you see no more streaks of flour. Your batter should look uniform and light before going into the pan.
Alternate Wet And Dry
Once your dry ingredients are light and airy, it’s time to bring everything together. The alternate wet and dry method is a mixing technique that ensures every bite stays tender.
Beat your wet ingredients until smooth. Then, add half your gluten-free flour blend to the bowl. Mix on low speed. Pour in half the milk. Blend gently. Repeat this alternate wet and dry process with the remaining portions. Stop when you just see everything combine; overmixing makes cakes heavy and dense.
| Step | Action | Result |
|---|---|---|
| 1 | Add half dry ingredients | Creates base structure |
| 2 | Pour half milk | Hydrates flour gently |
| 3 | Repeat with rest | Full incorporation |
| 4 | Scrape bowl sides | No hidden dry pockets |
Scrape the sides, pour into pans, and bake.
Bake at 350°F: Timing and Doneness Tests

You’ll bake your gluten-free cake at 350°F, and the timing depends on your pan size. Standard 8-inch rounds require 25 to 30 minutes, while larger sheet pans need 35 to 45 minutes. Start checking early by inserting a toothpick into the center. The cake is done when the toothpick comes out clean or with just a few moist crumbs, and the top springs back lightly when you touch it. Let the cake cool in the pan for 10 to 20 minutes before moving it to a wire rack. This prevents the crumb structure from breaking apart and keeps the texture tender.

Gluten Free, Vegan, Vegetarian, Kosher, Halal

Our Baking Powder Makes The Lightest, Fluffiest Cakes, Quick Breads And Baked Goods

YOUR KEY TO HOMEMADE PERFECTION: Bob’s Red Mill Baking Powder is a pantry essential for all your baking needs, from flaky biscuits and buttery cookies to tender muffins and moist cakes; works in two stages to ensure your baked goods rise beautifully
Timing Guidelines
How do you know when your gluten-free cake is perfectly baked? Your gluten-free baking time starts at 350°F, and you’ll want to stay close by since these cakes often finish faster than regular ones.
- Check your cake 5–10 minutes early to catch that perfect moment
- Run a simple doneness test by poking the center with a toothpick. Look for clean or nearly clean results
- Remember your cooling time: let layers rest in their pans for 10–20 minutes before you move them
For two 8-inch rounds, expect 25–30 minutes, or about 30 minutes for other setups. Spread your batter evenly so the middle bakes through. Consistent timing and proper technique make gluten-free baking reliable and repeatable.
Doneness Indicators
Getting the timing right sets you up for success, but knowing exactly when to pull your cake from the oven takes practice. Start testing for doneness around 25–30 minutes, since gluten-free batters bake faster and times shift with pan size.
Grab a toothpick and poke it straight into the center. You’re looking for clean wood or just a few moist crumbs clinging on. Wet batter means more time, and dry crumbs mean you’ve gone too far. For 8-inch rounds, check near 25 minutes; a 9×13 sheet needs closer to 35–45 minutes.
Don’t open the oven door early. Gluten-free cakes are sensitive to temperature swings, and you’ll risk a sunken middle. Once your toothpick shows the right signs, let layers cool 10–20 minutes in the pan before flipping.
Cool Completely Before You Frost
Always let your gluten-free cake cool completely before you even think about frosting it. Warm layers melt buttercream, so patience keeps your frosting stability intact. After baking, leave your rounds in their pans for 10–20 minutes, then flip them onto a cooling rack. Peel off the parchment, and let them sit until they reach room temperature. This waiting is essential, as it sets the crumb so your slices stay neat. Gluten-free layers crumble more, so you need this step even more than with regular cakes.
Patience preserves your frosting: cool gluten-free layers completely before you even think about buttercream.
When you rush, these problems occur:
- Frosting slides right off because warmth turns sugar to liquid
- Gummy texture underneath from trapped steam
- Crumbly disasters when you try to slice
Once fully cooled, chill leveled layers briefly so your frosting holds its shape while you build.

PRODUCT UPDATE: Vanilla Butter & Nut is now Cake Batter Flavor, a cake batter flavoring for baking; use in equal amounts to replace vanilla extract
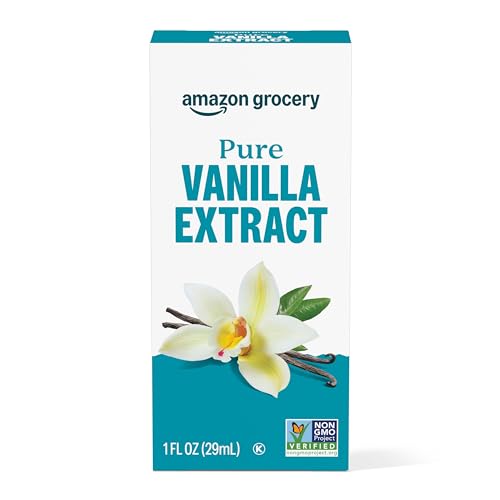
Add rich vanilla to all your baking recipes

Mexican Vanilla Blend – Made with pure vanilla extract, Vanilla Molina delivers a distinctive vanilla flavor that enhances your favorite recipes.
Make the Best Buttercream Frosting
With your cake layers cooled and ready, you can turn your attention to the frosting. You’ll beat butter on medium-high for about two minutes until it’s creamy and smooth. Then you’ll add four cups of powdered sugar gradually, mixing in one to two tablespoons of cream or milk at a time. Add vanilla and a pinch of salt as you go. If you’re craving chocolate buttercream, sift in cocoa powder and adjust the sugar to keep the balance right. For a dairy-free version, swap in dairy-free butter and use plant-based milk or dairy-free cream instead. You’ll get that same rich texture without any compromise. Once your buttercream frosting is fluffy and smooth, spread it over your gluten-free cake. Work gently so nothing slides or melts.

Real Sour Cream Texture, No Dairy: Thick, luxurious, tangy; dollop on tacos, swirl into soups, finish baked potatoes, fold into baking; behaves like dairy sour cream because it's actually cultured

Lusciously rich and creamy lactose free real dairy sour cream

Delicious & Fluffy – Enjoy a light and fluffy angel food cake with a taste so delicious, no one will know it’s gluten-free! Perfect for any occasion, this cake will delight your family and friends.
Store Your Cake: Room Temp or Freezer
Proper storage keeps your gluten-free cake tasting fresh, so you’ll want to pick the right spot based on how soon you’ll eat it. Wrap your gluten-free cake tightly, or place it in an airtight container, and it’ll stay moist and soft at room temperature for up to two days.
For longer storage, use the freezer. Wrap each cake round tightly in plastic wrap, then foil, and slide them into a resealable freezer bag. Your gluten-free cake keeps in good condition for three months this way.
- Freeze unfrosted layers for the best texture and shape
- Thaw frozen rounds at room temperature before you frost them
- Use an airtight container if you refrigerate, but expect slight crumb changes after five days
Reassemble and frost once fully thawed.

King Arthur Gluten Free Flour is ideal for all gluten-free recipes, our carefully tested blend of white rice flour, whole grain brown rice flours, tapioca starch, and potato starch yields baked goods with no grittiness or aftertaste

Versatile Replacement: This gluten free flour 1 to 1 substitute for wheat flour can be used in yeasted recipes, allowing you to create delicious GF versions of artisan boules, bagels, cinnamon rolls, and burger buns with ease.
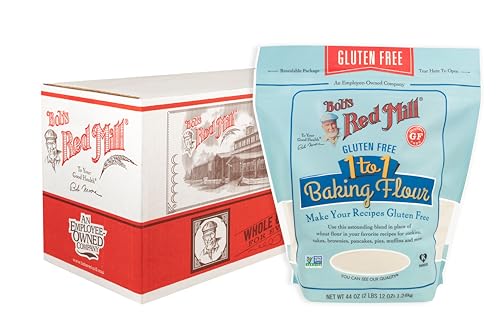
GLUTEN FREE MADE EASY: Bob’s Red Mill expertly crafted a one-to-one blend of gluten free flours, starches and xanthan gum; effortlessly transforms traditional cookies, cakes, brownies, muffins and pancakes into gluten free treats
Substitute Dairy for Allergy-Friendly Baking
Once you’ve got your cake stored safely, you might want to make it work for even more people. You can transform your gluten-free recipe into a dairy-free treat with simple substitutions that everyone will enjoy.
Swap dairy-free sour cream and almond milk for regular dairy in your gluten-free vanilla cake. Replace butter with dairy-free butter or neutral oil to keep the crumb soft and moist. For frosting, blend vegan butter with a splash of dairy-free milk until you reach the right spreadable texture. These substitutions maintain the light, fluffy sweetness of your original recipe.
Your dairy-free cake stores the same way: keep it airtight at room temperature for two days, or freeze it for longer freshness. You’re baking something inclusive without sacrificing taste.

Clabber Girl Non-GMO Corn starch comes in a resealable 6.5 ounce can

Versatile Baking: Create two 8 in or 9 in round layers, one 9 in x 13 in sheet cake, or 24 cupcakes with this 18 Oz gluten free cake mix (cupcake mix). Perfect for birthdays and special occasions, this mix offers flexibility for various baking needs

We've created a gluten-free cake mix that makes the best ever yellow cake, every time you bake. Turn it into a tender, golden layer cake or make a batch of moist, finely-crumbed cupcakes. You pick the frostings and fillings (sprinkles highly recommended)