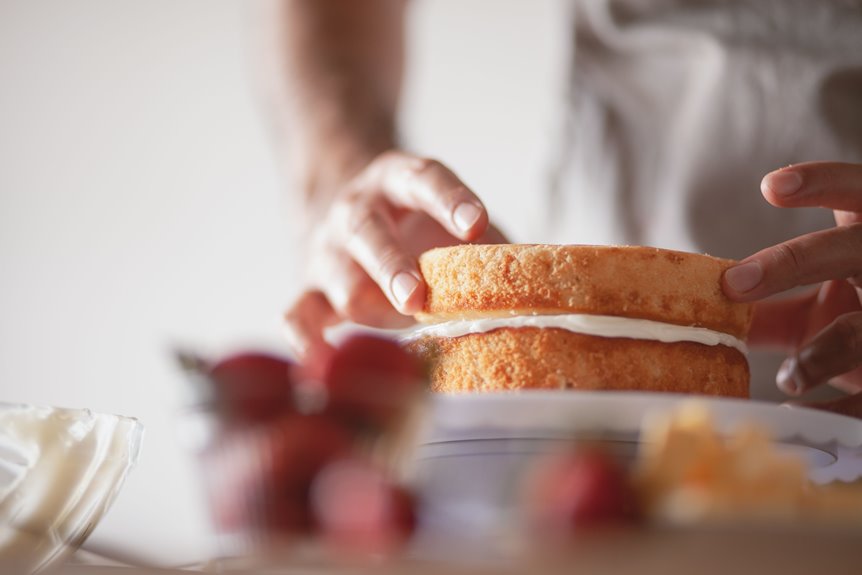
First, chill your cake for 45 minutes so the buttercream turns hard and guides your drips.
Next, make ganache by pouring hot cream over chopped white chocolate, letting it sit one minute, then stirring until glossy. Test its flow on a plate before using.
Then pipe or spoon the ganache along the chilled edge for controlled drips, reheating in 10-second bursts if it thickens.
Finally, chill 15 minutes, smooth the top with an offset spatula from center outward, and fill any gaps.
More tips and timing details are available in the full guide.
Chill Your Drip Cake Until the Buttercream Hardens

A cold cake is your best friend when you’re ready to add drips. You need to chill your drip cake until the buttercream hardens completely. This chilling step creates the firmness you need for clean, controlled ganache drips.
Pop your frosted cake into the refrigerator for at least 45 minutes. The cold temperature sets the buttercream rock-solid, sealing the edges and preventing messy slides. You’re building a smooth, cold surface that guides each drip exactly where you want it.
For faster results, slide your cake into the freezer for 45 minutes instead. Test your setup by touching the buttercream; it should feel hard, not soft.
After you pour your ganache drips, return the cake to refrigeration for 15 to 20 minutes. This second set locks everything in place, producing picture-perfect results every time.

USE: The soaking tube is ideal for moistening the sponge of your cakes evenly and without excess, as it has small evenly distributed holes creating a shower-like pattern when moistening the cake.
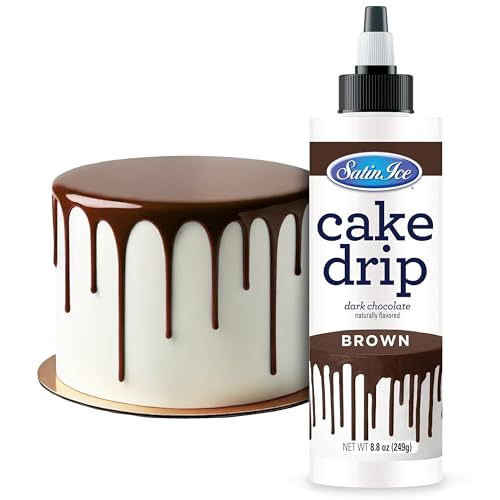
Satin Ice Cake Drip is fun and easy to use! Simply melt in the microwave, shake thoroughly, and you're ready to create stunning drip cakes or drizzle over desserts

EASY TO MELT & APPLY – Simply heat in the microwave, cool slightly, shake the bottle, and squeeze to create smooth cake drip effects, dessert drizzle, and bakery style decorations. Each bottle can coat the top or drip the sides of one 8 inch cake with a soft, delicious finish.
Make (or Reheat) Your Ganache and Test the Consistency
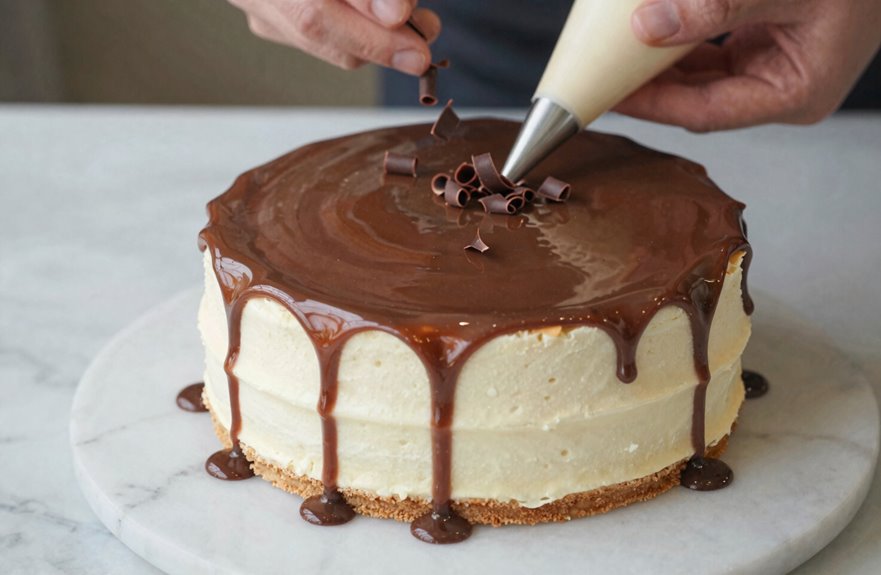
Heat heavy cream until it’s steaming hot, then pour it over chopped white chocolate and let everything sit for one minute. Stir until your ganache turns smooth and glossy. If you’re adding color, use gel food coloring now; it keeps the consistency just right.
Let your ganache cool to room temperature. You’re aiming for pourable but not runny. If it thickens too much, reheat it in 10–15 second microwave intervals, or stir in a tiny splash of heavy cream.
Test the consistency by spooning some ganache onto a plate and watching how it flows. If it flows too quickly, chill it briefly. If it flows too slowly, warm it up. This test determines whether your drip cake will have the controlled drips you want.

WONDERFUL AND UNIQUE TASTE White chocolate with only a hint of sugar, IVOIRE 35% reveals its warm milk aromas topped off with light vanilla notes. The only smooth white chocolate.


Amatika 35% Plant-Based White Chocolate offers a creamy, melt-in-the-mouth texture with delicate almond and dried fruit notes. This innovative couverture is a premium alternative to traditional white chocolate, designed for home bakers seeking exceptional flavor and versatility in plant-based pastry.
Pipe or Spoon Your Drips: And Troubleshoot as You Go

So how do you actually get those drips onto your cake? You’ve got two ways to make this drip cake shine: the squeeze bottle or the spoon method. First, chill cake for 15-20 minutes so your edge coating stays firm. Do a test drip on a plate to check your ganache flow.
| Method | Best For |
|---|---|
| Squeeze bottle | Even drips, full control |
| Spoon method | Organic look, small batches |
| Troubleshooting | Adjust thickness, reheat 10 seconds |
Fill your squeeze bottle with slightly cooled ganache, then gently drizzle near the top edge while you spin the cake. For the spoon method, place small spoonfuls along the rim and scrape extra bits. Your drips will look stunning with either technique.

Small Offset spatula by Ateco
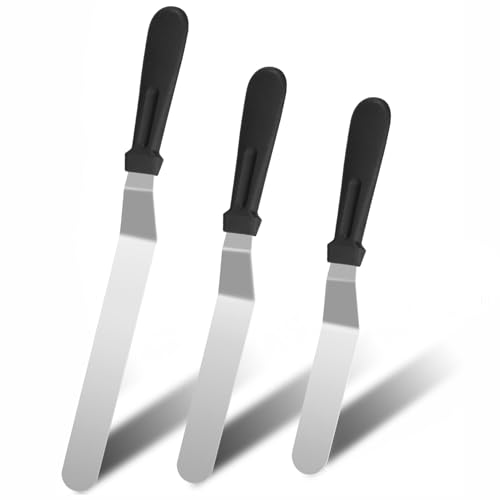
【MULTIPLE SIZES] Icing spatula set comes in Three different sizes 6, 8, 10 inches for different applications. It's great for icing cakes, cheese, pizzas, sandwiches, even cutting curds. This is your best choice to decorate a cake perfectly.

King Arthur Baking Company Offset Spatula: extra flexible 8-inch blade with rounded tip and perfect flex decorates cakes and baked goods with controlled, comfortable precision; ideal for cakes, cookies, cupcakes, entertaining desserts, and everyday baking
Smooth the Top and Store Your Ganache for Later
Now that your drips are set, chill the cake for about 15 minutes so the ganache firms up. Hold and smooth the top with an offset spatula, working from the center outward. Fill any gaps near the top edge with extra ganache using your squeeze bottle. The drizzle technique you’ve mastered helps you create an even, glossy surface. If your ganache thickens while you work, reheat it in 10-second microwave bursts until it reaches a pourable consistency. Test on a plate first. Store ganache in a sealed container in the fridge for up to 3 weeks.
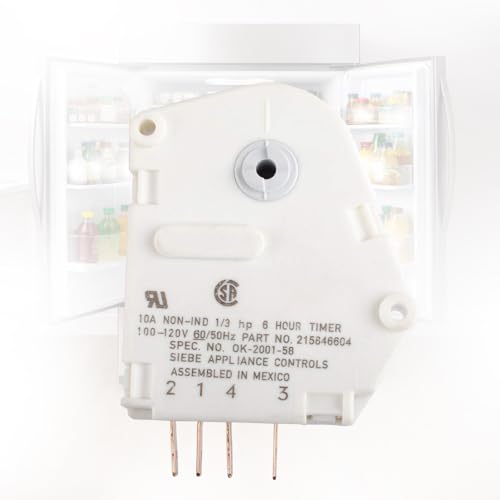
【120V Defrost Timer】215846604 refrigerator defrost timer, rated at 120V with a 6-hour timing cycle and a 21-minute defrost setting. Controls switching between cooling and defrost operation in compatible refrigerators and freezers. Match the voltage and timing specifications to your original timer before replacement.

The 215846604 Refrigerator Defrost Timer are part of the defrost circuit in your refrigerator and freezer. The defrost heater is what melts the frost buildup on the evaporator coils, and it can prevent your freezer from frosting up.

Smart Timed Defrost: Precise Timing Control Module: Starts the defrost program on schedule to automatically clear frost from the evaporator, keeping the fridge cooling cycle running smoothly.