You can bake a light gluten-free cake by swapping regular flour for Bob’s Red Mill 1:1 Gluten-Free Baking Flour with xanthan gum already mixed in.
Use vegetable oil and sour cream instead of butter to keep your cake moist and tender.
Beat your wet ingredients first to trap air, then fold in the dry mix gently so you don’t overwork the batter.
Pour into a parchment-lined pan and bake at 350°F, but start checking 5 to 6 minutes earlier than a regular recipe suggests since gluten-free cakes finish faster.
Cool completely before frosting to achieve the best results.
Choose the Right Gluten-Free Flour for a Tender Crumb
Why does your gluten-free cake sometimes turn out dense and crumbly? You’re probably using the wrong gluten-free flour blend. When you’re baking with gluten-free flour, you need a blend that works hard for you.
Grab Bob’s Red Mill 1:1 Gluten-Free Baking Flour. It’s got xanthan gum already mixed in, so you don’t have to guess. This 1:1 substitution makes swapping easy; no math, no stress. You’ll get better rise and a softer texture that feels like the real thing.
Skip blends without xanthan gum. They’ll give you a heavy, sad crumb that nobody wants at the party. You’re aiming for a tender crumb that holds together when you slice it.
King Arthur works too if it’s got xanthan gum. Use the same 1:1 ratio, and you’re set for dairy-free, vegan options or classic recipes.

Xanthan Gum is a soluble fiber produced from the pure culture fermentation of the microorganism Xanthomonas campestris

Use as a cup for cup replacement for wheat flour

Versatile All-Purpose Flour: Special high quality gluten-free flour blend milled from rice, potato, tapioca, maize, and buckwheat, perfect for baking bread, cakes, cookies, pastries, muffins, pancakes, and non-yeasted recipes at home
Lock in Moisture With Oil and Sour Cream
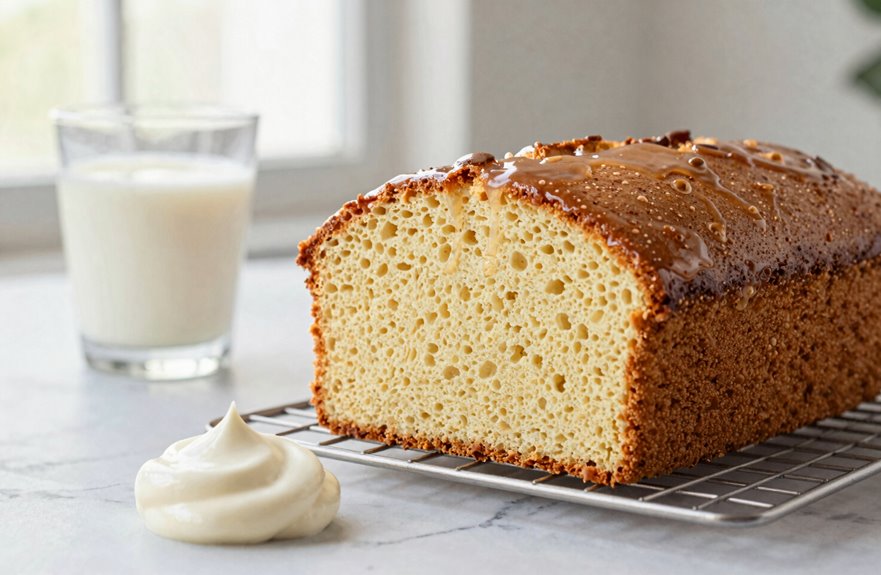
You’ll get a softer, fluffier crumb when you swap butter for vegetable oil, since oil coats flour proteins more evenly and traps moisture throughout the bake. Adding sour cream to your wet ingredients builds a fuller, more tender structure that fights off the dense, gummy texture gluten-free cakes often suffer from. Together, these two create a reliable moisture system; oil keeps things plush, sour cream adds richness, and you’ll add milk later to fully hydrate your flour blend.

We've created a gluten-free cake mix that makes the best ever yellow cake, every time you bake. Turn it into a tender, golden layer cake or make a batch of moist, finely-crumbed cupcakes. You pick the frostings and fillings (sprinkles highly recommended)

Versatile Baking: Create two 8 in or 9 in round layers, one 9 in x 13 in sheet cake, or 24 cupcakes with this 18 Oz gluten free cake mix (cupcake mix). Perfect for birthdays and special occasions, this mix offers flexibility for various baking needs

Rich & Moist Vanilla Pound Cake – Satisfy your sweet cravings with a deliciously moist and buttery vanilla pound cake, perfect for parties or everyday indulgence. Pair it with fruit toppings and whipped cream for a delightful dessert experience.
Why Oil Works
A simple swap from butter to oil can transform your gluten-free cake from dry and dense to soft and tender. You’ll notice the difference immediately in the crumb.
Oil coats every particle in your gluten-free flour blends, stopping them from getting tough. This creates tenderness you can feel when you take a bite. Your cake stays moist longer.
When you add sour cream, something special happens. The fat and acid help emulsify the batter, mixing everything together smoothly. You get richness without heaviness.
The best gluten-free vanilla cake comes from this combination. Your crumb turns light, not gummy.
Need a dairy-free substitute. Swap in dairy-free sour cream and milk. You’ll keep that soft texture. Your cake still rises tall and slices cleanly.
Oil provides superior moisture retention and crumb structure compared to butter.
Sour Cream Benefits
Tenderness starts with the right pair of ingredients. Sour cream benefits your gluten-free cake by adding richness and structure that oil alone can’t provide. When you build an oil-based batter, sour cream creates a tender crumb that feels soft, not heavy, in your mouth.
For best moisture retention, use a folding technique to blend sour cream into your wet ingredients first. This ensures even distribution throughout gluten-free flour blends, which soak up liquid quickly. You’ll avoid dry spots and dense patches that frustrate so many bakers.
Need a dairy-free option. Swap in plant-based sour cream. You’ll keep the same creamy texture and moisture without changing your method. Your cake stays light and your guests stay satisfied.
Combining Both Ingredients
The real magic happens when you mix oil and sour cream in one bowl. You’re creating the foundation for a gluten-free cake that stays soft for days. The oil brings tenderness, while the sour cream locks in moisture and keeps the crumb light, never gummy.
| What You Feel | What You Get | Why It Matters |
|---|---|---|
| Hope | A cake that doesn’t crumble | You’re part of the gluten-free baking community now |
| Relief | No dry, dense bites | Your friends won’t guess it’s gluten-free |
| Pride | Perfect batter consistency | You’ve mastered the technique |
| Joy | Dairy-free options work too | Everyone gets a seat at the table |
Skip the butter entirely. Use neutral vegetable oil and full-fat sour cream for best results. Your batter will look silky and pour smoothly. Bake at 350°F until the top springs back, about 28-32 minutes.
Fold Ingredients Gently to Keep Your Gluten-Free Cake Light
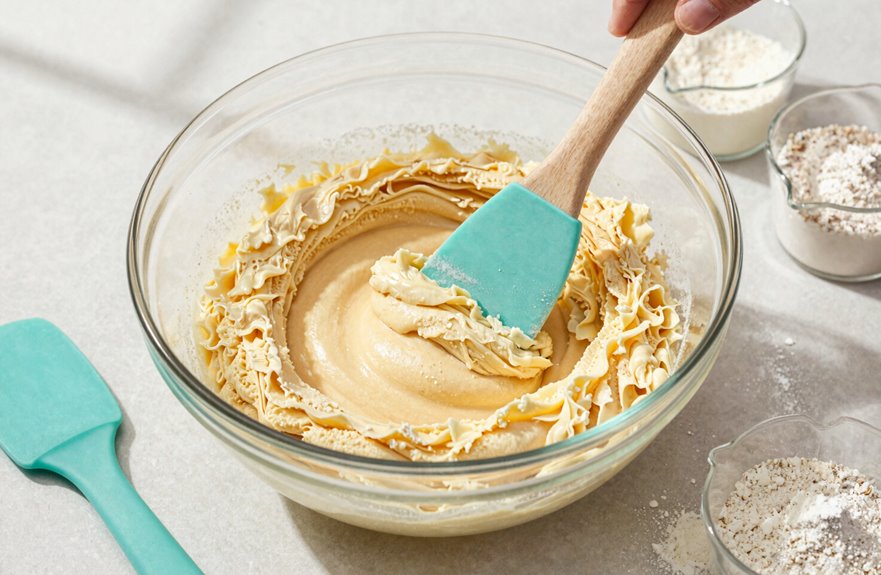
You’ll want to treat your gluten-free batter with a light touch, since mixing too hard pushes out the air you worked so hard to create. Fold your dry ingredients in slowly, lifting from the bottom and turning the bowl, until you can’t see any more flour streaks. Stop right there; overmixing activates the xanthan gum and leaves you with a tough, chewy cake instead of a soft, springy one.
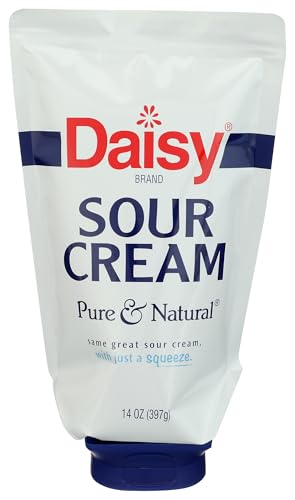
Pure & Natural

One 16 ounce container of Original Sour Cream

Pure & Natural
Mixing Technique Matters
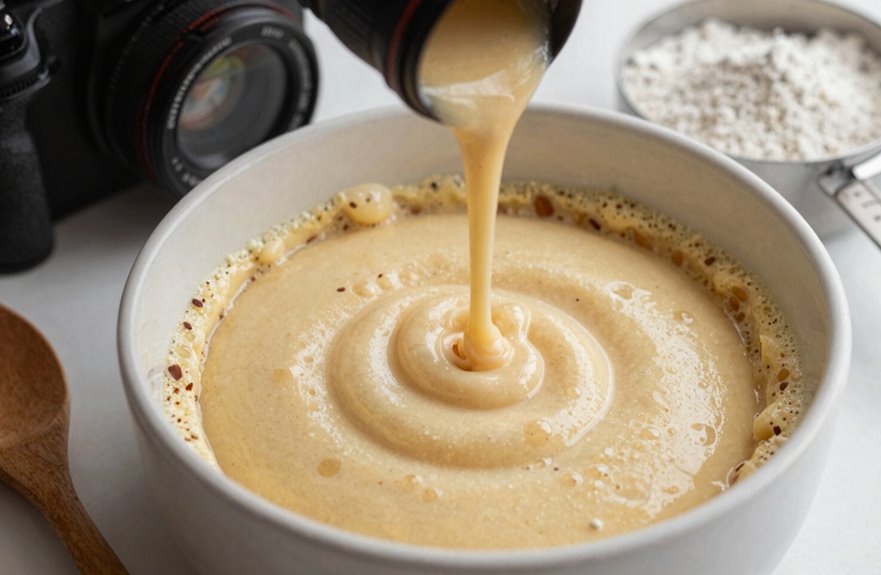
A gentle hand makes all the difference when you’re mixing gluten-free cake batter. First, beat wet ingredients until they’re light and fluffy. This step builds air incorporation that lifts your gluten-free cake. Then, fold in dry ingredients slowly. You’re not stirring soup; you’re coaxing friends together.
Grab your rubber spatula and scrape the bowl’s bottom and sides. This catches hidden pockets of gluten-free flour blend so every bite feels right, not gritty. Once mixed, rest batter in the pan for ten minutes. This hydrates the flour fully and prevents gaps that make slices fall apart.
| What You Do | Why It Helps Your Cake |
|---|---|
| Beat wet ingredients first | Traps air for fluffiness |
| Fold in dry ingredients gently | Keeps structure light and tender |
| Scrape with rubber spatula | Blends evenly, no flour pockets |
| Rest batter 10 minutes | Hydrates blend, prevents gaps |
Proper mixing technique determines the crumb structure in your finished cake.
Avoid Overmixing Batter
Why risk a heavy, dense cake when you’re so close to success. Overmixing your gluten-free batter develops it too much, creating a tight crumb instead of the light texture you want.
Use a rubber spatula for folding dry ingredients into your 1:1 baking flour mixture. Scrape the bowl gently, distributing everything evenly without beating out precious air. Mix at low speed, stopping the moment lumps disappear and you’ve got cohesive batter. For oil-based recipes, aim for smooth batter with some structure left. Don’t beat vigorously after adding flour.
Rest batter in the pan briefly before baking. This pause helps you avoid overworking during transfer. Pour smoothly, then step back. The oven will finish the job.
Select and Prepare Pans for Even Baking
Where should you start when you’re ready to bake? Begin with smart bakeware prep. Good gluten-free baking depends on prepared cake pans that help your cake bake evenly from edge to center.
First, grab your round pans or a 9×13-inch pan. Coat the bottoms with oil spray, then press parchment paper circles into place. This greasing step ensures easy cake release later; no stuck edges and no broken layers result from proper preparation.
For layer cakes, weigh your portions so each pan holds the same amount. This step keeps your layers uniform and produces even stacking.
Let your baked layers cool completely on a rack before frosting. Cooling prevents structural damage to your cake.

Real Sour Cream Texture, No Dairy: Thick, luxurious, tangy; dollop on tacos, swirl into soups, finish baked potatoes, fold into baking; behaves like dairy sour cream because it's actually cultured

Lusciously rich and creamy lactose free real dairy sour cream

Contains 1- 8 Ounce Container of Kite Hill Plain Almond Milk Cream Cheese Style Spread
Bake 10–15% Faster: Timing Your Gluten-Free Cake
Once your pans are ready and your batter is poured, keep a close eye on the oven. Gluten-free cake typically bakes 10–15% faster than regular versions, so start checking early. Gluten-free flours and gluten-free batter behave differently, and your pan type and size affect cook time too. Lighter, shallower batters finish quicker in most ovens.
Set your timer 5–6 minutes before the recipe suggests. You’re monitoring doneness now, not watching the clock. Grab a toothpick when the time comes and slide it into the center, looking for moist crumbs, not wet batter. Gluten-free baked goods can look underdone even when they’re set inside. Your doneness test is more reliable than visual appearance. Each gluten-free cake you make will teach you your oven’s specific timing patterns.

INDULGENT CARROT CAKE: There's pudding in the mix to give the cake a rich, moist flavor and texture; It's easy to create this irresistible treat with carrot flavored pieces
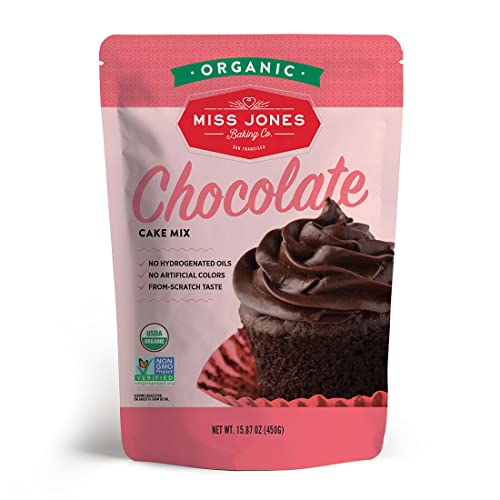
Contains: 1 Container of Organic Cake Mix

Try our famous Sour Cream Powder, made from Sour Cream (Cream, Cultures, & Lactic Acid), Cultured Nonfat Milk Solids, & Citric Acid.
Test for Doneness Without Drying It Out
How do you know when your gluten-free cake is ready without turning it into a dry, crumbly mess? Start checking about 5 minutes before the minimum bake times suggest, since gluten-free batters often cook faster than expected.
Bake in center rack position with your oven fully preheated. Use parchment-lined pans so heat spreads evenly and moisture stays put. When you think it’s close, grab a toothpick and insert it straight into the middle. Pull it out and look closely. If you see a few moist crumbs clinging on, that’s your sweet spot for doneness. A clean toothpick indicates the cake may be overbaked.
Avoid overmixing the batter, or your crumb will turn tough even when timing is perfect. Once baked, cool in pan for 10–20 minutes. This rest lets the structure set without losing moisture.

100% PURE & NATURAL XANTHAN GUM FOR BAKING KETO - Kate Naturals' Xanthan Gum Powder is natural and gluten free. Xantham gum is a great food thickener and is a gluten free baking powder.

Premium Food-Grade Xanthan Gum — 100% pure, non-GMO, and vegan. No clumps, no guesswork. Just smooth, reliable thickening for gluten-free baking, sauces, and smoothies. Stays fresh in a resealable canister, scoop after scoop

IMPROVED TEXTURE & STABILITY: Food-Grade xanthan gum powder enhances the texture of various food products, such as sauces, dressings, and dairy alternatives. It makes these foods look smoother and more attractive.
Cool, Store, or Freeze Your Gluten-Free Cake Properly
Transfer your gluten-free cake from the oven to a cooling rack. Let it sit until completely cool, about one hour. Touch the center; it shouldn’t feel warm.
For short-term storage, wrap your cake tightly at room temperature. This keeps moisture locked in for up to two days. Use plastic wrap or place it in an airtight container. Your cake stays soft and ready to share.
Need more time. Refrigeration extends freshness to one week. Again, use an airtight container so your cake doesn’t dry out.
Want to freeze. Wrap each layer in plastic wrap, then foil. Slide them into a resealable bag. Freeze up to three months. Thaw completely on a cooling rack before you frost.


Just six simple and nutrient-rich ingredients

Versatile Baking: Perfect 1:1 substitute for wheat flour in non-yeasted recipes, ideal for gluten-free cookies, cakes, muffins, and pancakes. Simplify your gluten-free baking with this all-purpose flour alternative.
Make It Dairy-Free or Vegan if Needed
Looking for a dairy-free or vegan option. You can easily adapt your gluten-free cake to fit your needs. Start with Bob’s Red Mill 1:1 gluten-free flour with xanthan gum. This blend keeps your cake’s structure strong, even when you swap out dairy.
Replace regular milk with dairy-free milk like almond milk. Use dairy-free sour cream to maintain that rich, tender crumb. For the frosting, grab a vegan butter alternative instead of dairy butter. Oil moisture plays a key role, so don’t skip the oil in your batter. It works with the dairy-free sour cream to keep every bite soft.
When making vegan substitutions, you might notice small changes in sweetness or texture. Check your recipe notes for vegan egg replacer options. Dairy-free and vegan baking requires attention to these details for optimal results.


Fix Dense, Gummy, or Crumbly Texture Problems
| Problem | Fix |
|---|---|
| Dense, heavy crumb | Use oil and sour cream moisture, not butter |
| Gummy center | Avoid over-mixing; test with toothpick |
| Dry, crumbly cake | Check gluten-free 1:1 flour blend has xanthan gum |
| Uneven texture | Ensure proper hydration by alternating wet and dry ingredients |


A 1-FOR-1 SWAP WITH DAIRY HEAVY CREAM: Use Califia Farms Dairy Free Heavy Cream exactly how you use dairy heavy whipping cream, swaps into all recipes at a one-to-one ratio.