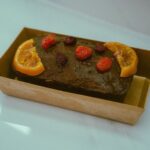
Chill your cake for 15 minutes, then roughen the surface with a spatula so the fondant sticks.
Roll your fondant to 4–5 mm thick on a surface dusted with cornstarch, lift it onto a rolling pin, and drape it over the cake in one smooth motion.
Smooth air bubbles toward the edges with your hands or a smoother, prick stubborn ones with a pin, and trim excess at the base with a sharp knife.
Press the fondant firmly with a smoother for 30 seconds to sharpen edges and create a glassy finish.
Additional techniques are available to speed up this process.
Grab These 3 Tools Only
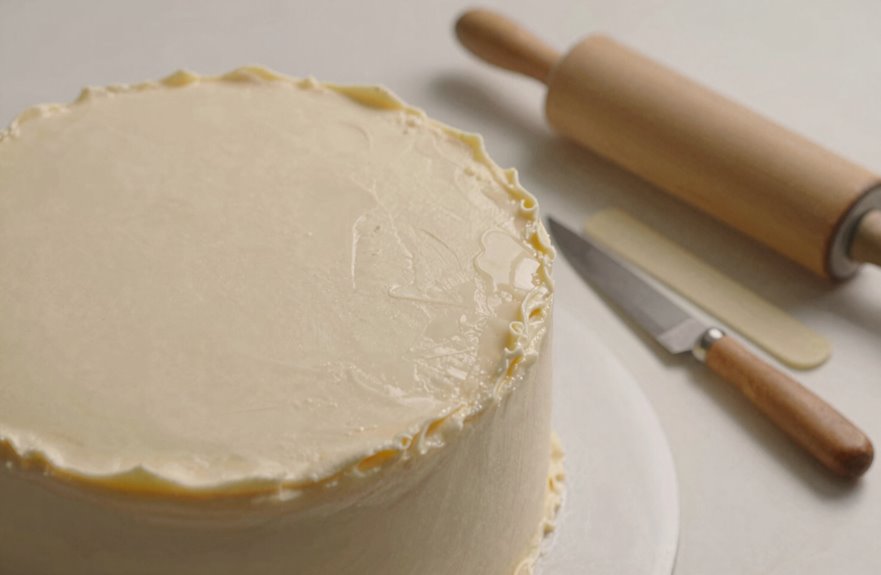
Why complicate things when three simple tools get the job done. You only need a rolling pin, a smoother, and a sharp knife or pizza cutter.
Grab a flat-ended rolling pin or PVC spacer first. You’ll roll your fondant to exactly 4-5 mm thick, about 1/8 inch. This even thickness means neat coverage without thin spots or tears. Dust your work surface lightly with cornstarch or icing sugar so nothing sticks, then roll away.
Your smoother presses out air bubbles and seals edges tight. The knife or pizza cutter trims excess fondant cleanly from the bottom. These three tools fit in any kitchen drawer and work reliably every time. No fancy gadgets required to produce professional results.

Lightweight Design: This plastic rolling pin is extremely lightweight (33cm x 2.5cm), preventing hand fatigue or wrist pain even after prolonged rolling

PREMIUM SOLID WOOD - The whole french rolling pin is made of natural original wood, it has no paint, no wax, no burrs and no cracking unlike other beech wood on the market

Premium Quality:This hollow rolling pin is made of premium food grade 18/8 stainless steel. Its material is thick, corrosion-resistant and sleek.
Chill and Roughen Your Base in 2 Minutes

Chill your cake in the fridge for 15 minutes until the ganache or buttercream feels hard like clay, not soft like frosting. Then, gently roughen that cold surface with a spatula or your fingertips so the fondant has tiny grooves to grip onto. This quick chill and texture prep prevents shifting and keeps the fondant from sliding around when you drape it on.

Made of food grade plastic.

Fondant and icing smoother by Ateco

Smooth finish for professional results: These fondant smoothers help eliminate bumps, air bubbles, and uneven surfaces on fondant, buttercream, and sugar paste. Run the smoother over your cake to create a polished, professional-looking result
Chill Cake Firmly
Before you roll out your fondant, pop your cake in the fridge for about two minutes. This quick chilling firms up your ganache or buttercream base, giving you a solid surface that won’t slide around when you drape your fondant on top. The surface turns cool and slightly hard to the touch, signaling you’re ready to proceed. A firm base stops your fondant from sagging at the edges and helps you achieve crisp, clean corners. If your buttercream seems too soft, thin it with a splash of milk or water first, then chill. Once your two minutes are up, take the cake out carefully and continue.
Roughen Buttercream Surface
Once your cake feels cool and firm to the touch, you’re ready to prep the surface for the fondant. Grab a clean offset spatula or bench scraper to roughen the buttercream and give your fondant something to grip.
Lightly drag your tool across the buttercream in one direction to create tiny ridges. Rotate the cake, then drag again. Aim for slight irregularities, not deep scratches. This texture helps the fondant stick without slipping or bubbling.
If your buttercream looks glossy or feels too soft, pop the cake back in a cool spot for a few minutes. Check that your buttercream is spread evenly; any thick bumps will show through the fondant later.
Work quickly. You have about two minutes to chill and roughen your base before moving on.
Prep for Fondant
A quick chill firms up your buttercream and makes the next steps easier. Pop your cake in the fridge for about 10 minutes, or set it on a chilled plate. This prep step hardens the surface so you won’t mess up your smooth finish.
Next, check for bumps or cracks. Spread a thin layer of buttercream over any trouble spots, and let it set for 30 seconds. You’re building a solid base so your fondant stays flawless.
Now roughen things up just a touch. Let that coating get slightly tacky, almost like soft clay. This texture grips the fondant so it won’t slide around.
Coat your hands lightly with vegetable shortening so nothing sticks. Dust your clean counter with a pinch of cornstarch or icing sugar. You’re ready to roll.
Roll Fondant Thin (But Not Too Thin)

You’ll want to roll your fondant to about 4 mm thick, which is roughly the width of two stacked nickels, so grab some spacers or a flat-ended rolling pin to keep it even. If you go thinner than that, the fondant gets weak and tears when you lift it, resulting in holes in your finish. Roll on a lightly sugared surface, then drape the fondant over your rolling pin for a smooth transfer to the cake.

【GAME CHANGER FOR PIZZA CUTTING】Ditch the old roller pizza cutter! Our 14-inch pizza cutter rocker blade slices through thin or thick crust in seconds with just 4 simple rocks—leaving your toppings perfectly in place for a picture-perfect pizza every time. Faster, cleaner, and easier, it’s a must-have tool for every pizza lover’s kitchen, and also makes a thoughtful wedding, housewarming, or holiday gift for home chefs.
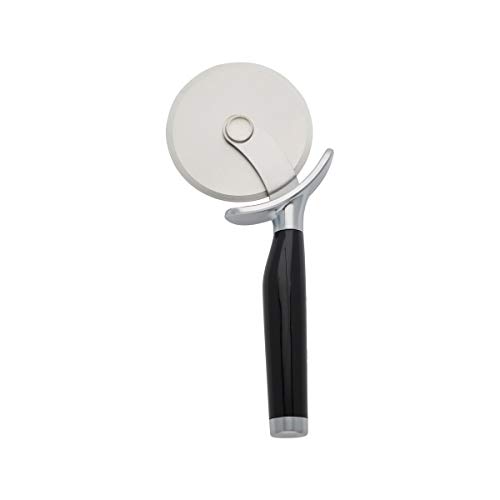
SLICE PIZZA LIKE A PRO: Pizza restaurants use a roller cutter like this one. The sharp blade makes a clean cut in any crust and, unlike using a knife, actually presses the crust and toppings together, keeping the toppings on your pizza.

[PREMIUM QUALITY] - Made of food grade 430 stainless steel blade and PP cover, the Pizza Rocker Knife is incredibly sharp, the whole steel plate is integrated to make no welding, no falling off, not easy to deform and rust.
Optimal Thickness Range
Rolling fondant to the right thickness is like laying down a cozy blanket. Too thin and it tears, too thick and it looks clunky. You want your fondant thickness to hit that sweet spot of 4–5 mm, about 1/8 inch. Grab some spacers from your kitchen drawer to keep your rolling even and consistent.
Prep your rolling surface with a light dusting of sugar so nothing sticks. Roll smoothly without rushing, and check your work as you go. Some bakers prefer 3–4 mm for crisper edges and tidier seams on top. Either way, this thickness range works well.
When you lift your fondant, don’t stretch it. Simply drape and smooth it into place.
Preventing Tears
With your fondant rolled to that perfect 4–5 mm thickness, you’re ready to move it onto the cake. This is where tears happen if you’re not careful. You want the sweet spot: thin enough for a smooth seam on top, thick enough to stop fondant tearing when you lift it.
First, dust your work surface lightly with cornstarch or icing sugar. Too much dust dries the fondant, and that’s when cracks start. Now, lift the fondant gently with your arms. Don’t stretch it. Drape it over the cake and let it fall naturally.
If you see edges starting to split, ease them softly instead of pulling. Then press your smoother downward to blend the seam straight. This technique prevents rips and ensures clean coverage.
Drape and Cover With Fondant in One Motion
A smooth layer of fondant starts with the right thickness. Roll your fondant to about 4 mm thick on a lightly sugared surface. Lift it onto a rolling pin, then drape gently over the cake in one motion.
Follow these steps:
- Flip the cake to bring the fondant edge around the sides in a single wrap
- Align carefully to avoid air bubbles and ensure a smooth top seam
- Smooth with a smoother and your hands as you drape, lifting and guiding it flush
- Trim excess fondant around the base with a small knife, leaving a neat edge
Check for visible seams and air pockets as you press. Use light smoothing to maintain a sharp top edge. This technique eliminates time-consuming adjustments and reduces the stress of application.

Small Offset spatula by Ateco

Professional quality small sized spatula, 4. 25- . 75-Inch blade

Two Professional Cake Decorating Spatulas: PUCKWAY offset spatula set comes in two different sizes: 6 inch and 8 inch blade. This is your best choice to decorate a cake perfectly.
Smooth Air Pockets and Patch Tears Fast
You’ll spot air bubbles by running your hand gently over the fondant’s surface, feeling for small bumps that break the smooth finish. Lift the edge near each bubble, press it flat with your palm, and glide a fondant smoother over the top to push the air out toward the edge or bottom seam. If you tear the fondant, grab a small leftover piece, dab a tiny bit of water around the hole, stick it on, and blend the edges with your finger until it disappears.

Dual Edge for Cutting and Scraping: Straight edge helps divide bread, pastry, and fondant, while the curved edge works for cake batter, chocolate, frosting, and sticky mixes

3-IN-1 DOUGH AND BOWL SCRAPER: This 4.75" flat edge scraper is made of durable nylon with a comfortable silicone handle, doubling as a dough cutter, bowl scraper, and flat chopper in one compact, easy to grip tool.
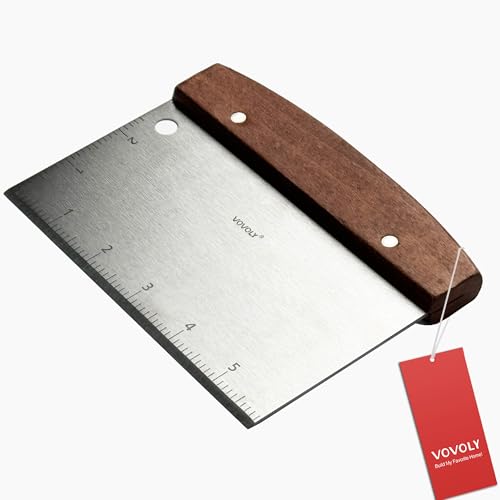
Thickened stainless steel - This bench scraper is made of thickened stainless steel, non-reactive, rust free, hygienic and durable. Heavy duty
Locate Air Bubbles
Where do those pesky bumps come from? Air bubbles hide between your fondant and cake.
Find and fix them fast:
- Lift and press – Gently raise the fondant edge near any bump, then push the air toward the top with smooth, firm pressure.
- Smooth it out – Run your fondant smoother flat along the surface, steering bubbles toward seams or edges so new pockets don’t form.
- Prick stubborn spots – Use a fine needle on tough bubbles, then smooth again; keep that hole tiny so nobody notices.
- Patch tears quickly – Lift the fondant slightly, add a small piece underneath, and seal it smooth.
Work from the center outward, and you’ll push trapped air where it belongs. Your cake will look professional.
Smooth With Tools
The right tools make smoothing fondant quick and easy. Grab your fondant smoother and press out air pockets with long, even strokes. Start at the center, then work your way toward the edges. Steady pressure gives you that glassy finish.
Your smoothing tools do the heavy lifting, but your hands matter too. Lift and reposition small sections instead of stretching. Stretching pulls the fondant thin and creates new bubbles you’ll just have to fix later.
Keep things cool by dusting your work surface with cornstarch. If the fondant starts sliding, pop the cake in the fridge for three to five minutes. This sets everything firm so you can finish smoothing without fighting gravity.
Patch Tears Quickly
Even when you’re careful, tiny bubbles and small rips can sneak in while you work. You can fix these flaws fast.
How to smooth air pockets and apply fondant patches:
- Ease bubbles out. Gently push air toward the top with your smoother or finger, then prick stubborn ones with a pin.
- Cover small tears. Press a tiny fondant piece over the rip from the back, then blend the edges smooth.
- Keep thickness right. Roll to 4–5 mm so your fondant patches don’t tear while you work.
- Dust and press. Use cornstarch to stop sticking, then press patches flat with your finger or smoother.
Work quickly, press firmly, and smooth outward. Your cake will look seamless.
Trim Excess Fondant Cleanly at the Base
Once you’ve smoothed the fondant over your cake, you’ll notice a ruffled skirt of extra material pooling at the bottom. You’re ready for trimming. Grab a small knife or scalpel, and position the blade flat against the cake board. Cut shallowly around the base seam. Don’t dig deep, or you’ll lift the fondant from the cake.
| Problem | Quick Fix |
|---|---|
| Fondant lifts at edge | Push back gently, re-trim |
| Jagged bottom line | Roll edge flat first with pin |
| Uneven cuts | Keep blade parallel to board |
| Excess underneath | Slice straight, remove scraps |
| Indented base seam | Apply light, even pressure |
Remove leftover pieces from underneath with careful, straight cuts. Keep that bottom edge flush and clean. If the fondant shifts, nudge it back into place. Your cake now has a neat, professional skirt with sharp, uninterrupted lines ready for the next step.

Size - The plastic rolling pin measures 11.81" x 0.98" / 30cm x 2.5cm (L*D), and is very light for long time use without tired hands.

7-1/2 plastic rolling pin

【Extra-Long Heavy-Duty】This 17.78-inch non-stick rolling pin features an extra-long length and heavyweight construction to handle large baking projects with ease. Its smooth surface prevents dough from sticking or tearing, ensuring clean results every time. A lightweight pastry roller suitable for both children and adults! Ideal for making pizza dough, cookies, bread, fudge, pies, and more.
Sharpen Edges in Your Final Smoothing Pass
Sharpen those edges with confidence in your final smoothing pass for bakery-perfect results.
You’re almost done. Now it’s time to make those edges look sharp. Grab your smoother and get ready for the final smoothing pass that will give your cake a professional bakery appearance.
To achieve crisp edges:
- Check your thickness first. Keep your fondant at 4–5 mm so it won’t tear when you press.
- Dust and dampen. Lightly coat your surface with cornstarch or icing sugar, and fix any dry spots so nothing drags.
- Apply firm, even pressure. Run your smoother along the top and sides, using your fingers to shape that crisp corner line.
- Pop bubbles fast. Press air toward the top, prick gently if needed, then smooth again for a straight finish.
Smooth with confidence.

Size: 3.46 x 5.82 inch (8.8 x 14.8cm); Color: White smoother with purple handle; Made of food grade plastic, safe to use, durable, reusable

Professional Cake Finish - Flexible fondant smoothers bend to your cake’s curves, eliminating air bubbles and lines for a flawless, polished look

VERSATILE SET: Package includes 2 white plastic fondant smoothers designed for cake decorating, icing, and fondant work
Add One-Minute Finishing Touches
With your edges looking crisp and clean, you’ve got a solid foundation. Now you’re ready for the finishing touches that make your cake look like it came from a real bakery.
Grab your fondant smoother and work it across the top in gentle circles. You’ll feel the surface getting glassy and perfect. Don’t rush; thirty seconds of smoothing makes all the difference.
Check your sides one last time. Press out any tiny bumps with your palm. If you spot a crack, rub a dab of white vegetable fat into the spot and smooth again.
Dust off extra cornstarch with a soft brush so your fondant smooth finish stays clean rather than chalky.
Step back and look. You’ve just put fondant on a cake in ten minutes flat and learned a professional technique.

SLICE PIZZA LIKE A PRO: Pizza restaurants use a roller cutter like this one. The sharp blade makes a clean cut in any crust and, unlike using a knife, actually presses the crust and toppings together, keeping the toppings on your pizza.

Sharp Rocking Blade: Ensures clean, effortless cuts through any pizza crust, keeping toppings intact. Make slicing quick and enjoyable with this rocker knife

SLICE LARGE PIZZAS EFFORTLESSLY: Masterfully crafted for serious pizza lovers, our 16-inch pizza rocker cutter glides through even the largest pies with ease. Unlike a small pizza cutter wheel, the rocking pizza cutter makes precise, even slices every time—no dragging toppings, no mess.
Keep Your Fondant Cake Fresh for 3 Days
Now that your fondant looks flawless, how do you keep it that way? You’ve joined the community of bakers who take pride in their work, and protecting your creation matters. Follow these steps to maintain freshness for three full days:
- Store your cake in a clean box at cool room temperature, and always bring it to room temperature inside the box so condensation won’t ruin your fondant’s smooth surface.
- Use ganache or firm buttercream underneath your fondant. This sturdy base prevents sliding and softening while your cake waits.
- Keep your fondant-wrapped cake away from strong-smelling foods. Fondant absorbs odors easily, and you don’t want garlic notes in your vanilla masterpiece.
- Lightly dust the surface once, then avoid further handling. Excess contact leaves marks and dries out your fondant over the three-day period.
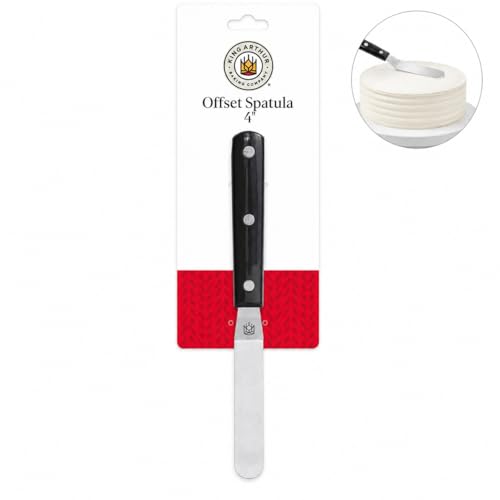
King Arthur Baking Company Offset Spatula: extra flexible 4-inch blade with rounded tip and perfect flex decorates cakes and baked goods with controlled, comfortable precision; ideal for cakes, cookies, cupcakes, entertaining desserts, and everyday baking
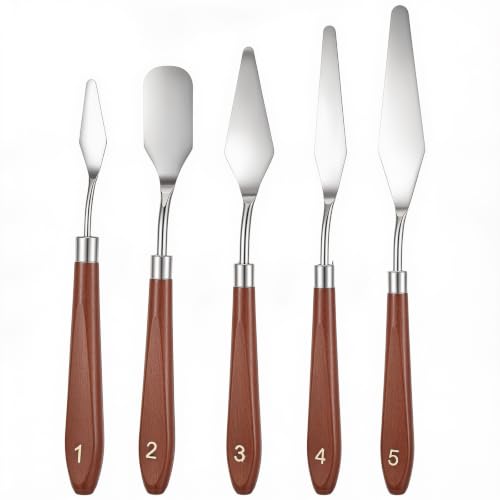
【Various Sizes】You will receive 5pcs cake spatula include 5 different sizes,ranging from 16.8cm/6.6 inches to 22.8cm/9 inches in length.Various sizes of icing spatulas can meet cake decorating tasks
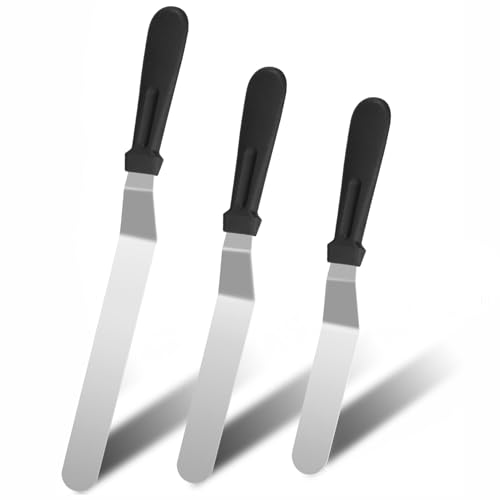
【MULTIPLE SIZES] Icing spatula set comes in Three different sizes 6, 8, 10 inches for different applications. It's great for icing cakes, cheese, pizzas, sandwiches, even cutting curds. This is your best choice to decorate a cake perfectly.
Speed Tips From a Pro (Bonus Shortcuts)
Since you’ve already got the basics down, let’s speed things up without cutting corners on quality. You’ll want a ganache base or very firm buttercream, as this gives you a sharp, stable surface that keeps your fondant from softening and helps you work with real speed.
Roll your fondant to 4–5 mm thick, using spacers or a rolling pin with flat ends so it stays even. You won’t waste time fixing tears or stretched spots. Lift the fondant with your rolling pin, drape it over, and unwrap. Smooth from the top down, then trim the bottom edge clean with a sharp knife.
Work fast but stay careful. Air bubbles slow you down. If one forms, ease it up top or prick and smooth. Dust lightly with cornstarch and blend seams with a damp finger.
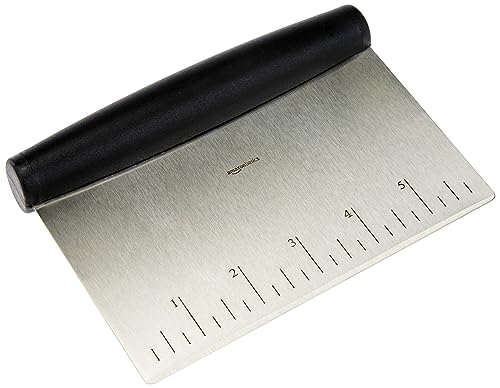
Multi-purpose scraper/chopper tool for portioning bread and pastry dough, chopping and measuring

[PRACTICAL SCRAPER SET]: Ecavria kitchen scraper set contains 1 pc 6.6*4.7 inches stainless steel bench scraper and 2 pcs BPA FREE & food grade PE plastic bowl scrapers, which offers novices or baking-masters an effective tool set for all kinds of kitchen use.

High Quality Cake Scraper: Teenitor cake smoother is made from high grade PP plastic to guard your healthy and safe life. Very sturdy and easy to use. High-quality plastic that can withstand repeated use and cleaning