You can freeze cake layers for as little as 2 hours or up to 3 months, depending on your schedule. First, cool layers completely on a wire rack for 1–2 hours until room temperature to the touch. Wrap each layer tightly in two layers of plastic wrap, adding foil for longer storage, and label with the date. Thaw wrapped layers on the counter for about 1 hour before frosting, keeping them covered to prevent condensation. Level while still firm, apply a thin crumb coat, and freeze 20 minutes to set. The next steps will show you how to finish with smooth, professional results.
Cool Cake Layers Completely Before Wrapping
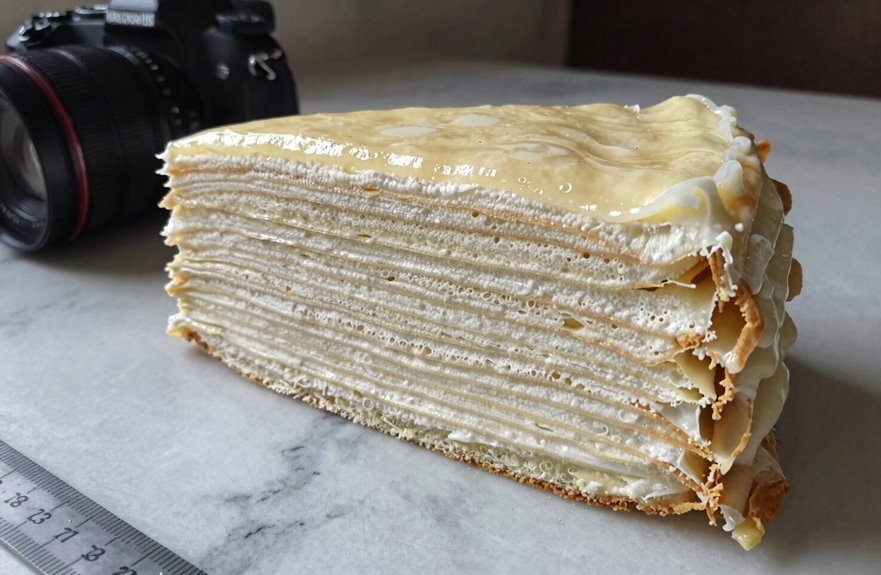
Before you even think about wrapping your cake, you need to let it cool all the way down. You can’t rush this step, or you’ll trap steam inside your layers. That steam turns into water droplets, and nobody wants a soggy cake after freezing.
Cooling takes patience. Set your layers on a wire rack and wait until they’re room temperature to the touch, usually one to two hours. Feel the bottom. If it’s still warm, keep waiting. Proper cooling technique is a fundamental baking practice.
Once cooling finishes, you’re ready for the next move. Proper cooling before wrapping means your cake stays fresh, freezes evenly, and handles beautifully when frosting day arrives.

A REAL SPACE SAVER: The package contains 3 individual cooling racks, two with stackable legs and one with support feet. Stackable design let you cool dozens of cookies or 3 cakes at once,with maximize space savings.
Stainless steel construction: Heavy-gauge stainless steel resists rust and corrosion across years of heavy use; no toxic coatings to flake onto food; safe for roasting, broiling, and everyday cooling tasks at high oven temperatures

【Collapsible 4 tier Cooling Rack】 Features a sturdy construction with a collapsible & adjustable design. Geesta wire cooling rack works works well for everything, from small items like cupcakes and muffins to large pies and cakes of significant weight.
Wrap Cake Layers in Plastic and Foil for Freezing
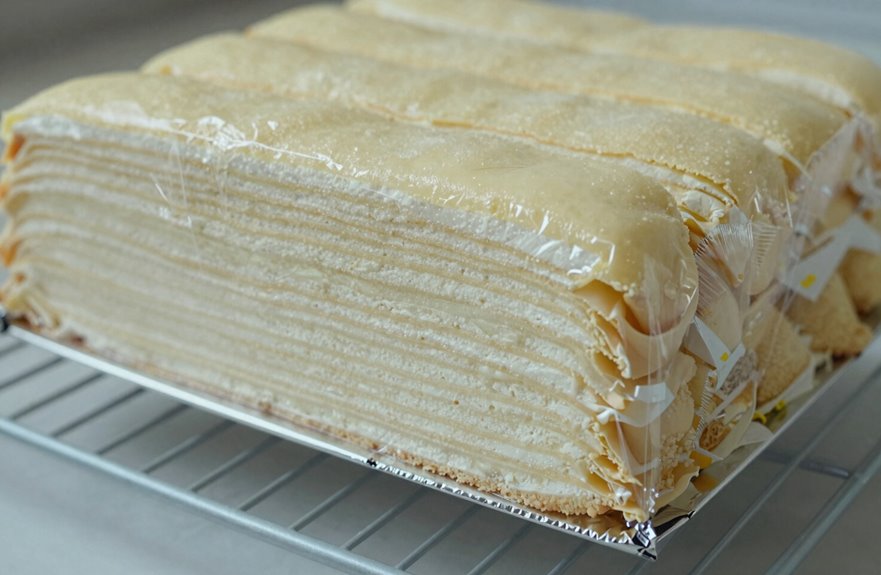
Once your cake layers have cooled completely, wrap each layer in two layers of plastic wrap, pressing it snug against the cake’s surface. For short-term freezing of just a few days, this step is sufficient.
For longer storage, add a sheet of aluminum foil around the plastic for extra protection against freezer burn. You can also slide each wrapped layer into a large zip-top freezer bag or airtight container if it fits. Label the outside with the cake type and a use-by date. This system keeps your freezing organized so you know exactly what you have when it’s time to frost.

We have a vast Variety of Wrap in the market.For Width we have 12",16", 18" 24".For Length we have small roll and big roll like from 2000 feet to 5000 feet or over we have also variety specially used for meat film or mushoroom film.We have different variety For hand wrapper also for machine overwrap.

SIZE - Each cake collar roll 8inch(W) x 32.8ft(L) /20cm(W) x 10m(L) , you can cut it into any length you need

The information below is per-pack only
Freeze Cake Layers for 2 Hours to 3 Months
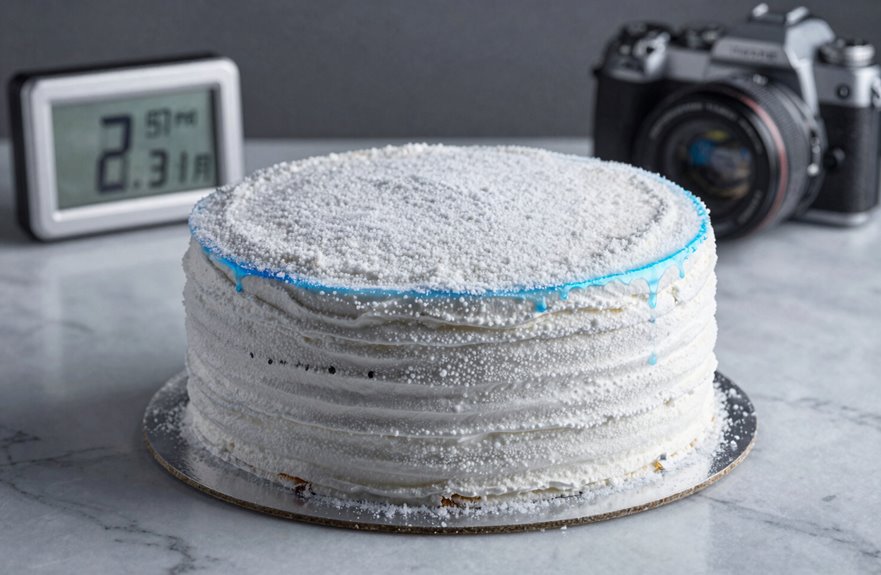
Your wrapped cake layers are ready for the freezer, and you’ve got options depending on your schedule. You can freeze them for just two hours if you’re in a rush, or keep them tucked away for up to three months when life gets busy.
For short stints, your double wrap works well. Planning to freeze longer? Slide those wrapped layers into a zip-top freezer bag or airtight container. This extra step prevents freezer burn, so your cake stays moist and tender.

Package Includes: One (1) Reynolds Wrap Everyday Strength Aluminum Foil Roll measuring 30 feet long by 12 inches wide (30 square feet total)

Great Value Pack: Our aluminum foil with 200 pre-cut sheets, Perfect for restaurants or home use, ensuring you always have a ready supply for all your cooking and storage needs. Each tin foil sheets measures 12" W x 10.50" L. The box dimensions are 12.60" W x 5.90" D x 3.14" H.(Please check the product description for the correct count. Packaging show a different sheets)

Thaw Wrapped Cake Layers on the Counter
When you’re ready to decorate, pull those wrapped layers from the freezer and set them on the counter. Start thawing about an hour before you plan to frost. Keep those wrapped cake layers covered during this time, as this prevents condensation from forming on the surface, which could ruin your frosting later.
| What You Feel | What You Do | What Happens |
|---|---|---|
| Rushed | Unwrap too soon | Soggy cake, sliding frosting |
| Patient | Wait 30–60 minutes | Firm, workable layers |
| Prepared | Fridge-thaw overnight | Even, steady thawing |
| Confident | Partial thaw before decorating | Smooth frosting, no crumbs |
Partial thawing works best. Your layers stay firm enough for stacking and crumb coating, yet soft enough that frosting spreads smoothly. For bigger projects, fridge-thaw wrapped cake layers 8 to 10 hours ahead. This method eliminates the crumb-fighting that plagues many bakers.

SLIDER LOCK: The slide-lock zipper of these zipper bags for food creates a tight seal to keep air out, locking in the freshness of foods. Greaseproof to store oily foods too, without messes!


* COMPLETE ZIP STANDING SET with everything you need for lunch, snacks, travel, and everyday. The convenient zip means no lids to lose or keep track of. You get 2 Cups, 2 Dishes, and 2 Storage Bags in this complete set. Add several to your kitchen and dining accessories for better health, more enjoyment, and added convenience.
Level Frozen Cake Layers Before Stacking
Why start with wobbly layers when you can build on something solid. Grab your serrated knife and level those frozen cake layers while they’re still firm. Cold layers slice cleanly, so you won’t crush the delicate crumb.
Run your knife across the top in gentle sawing motions, removing domes and uneven spots. Work quickly, your hands warm the cake. Check with a ruler; you’re aiming for flat, even surfaces.
This step locks in stacking stability. Flat layers sit flush, preventing gaps and tilts that ruin your finished look. Once leveled, you’ll apply your crumb coat with confidence. Semi-frozen edges stay sharp, giving you clean lines to build upon.
Take your time here. Precise leveling now means fewer mistakes later, and your cake will look professionally executed because you’ve mastered this fundamental technique.

Two Professional Cake Decorating Spatulas: PUCKWAY offset spatula set comes in two different sizes: 6 inch and 8 inch blade. This is your best choice to decorate a cake perfectly.
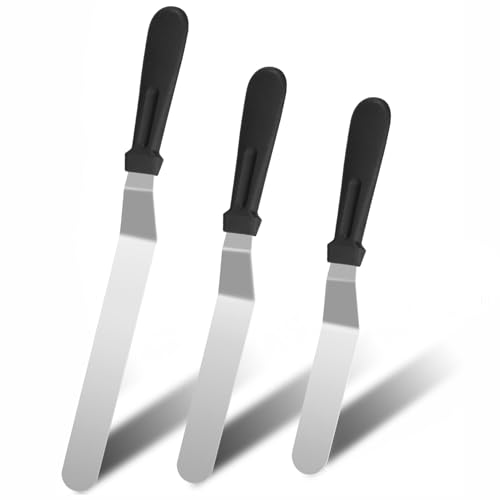
【MULTIPLE SIZES] Icing spatula set comes in Three different sizes 6, 8, 10 inches for different applications. It's great for icing cakes, cheese, pizzas, sandwiches, even cutting curds. This is your best choice to decorate a cake perfectly.

【Three Multi-sizes】 6,8,10 inches decorative spatulas. You can choose the appropriate size to apply the filling and evenly spread the frosting on the cake. Multiple sizes Icing Spatulas enable you to easily handle various baking and decorating tasks,and are highly suitable for beginners and professional bakers.
Stack and Fill Layers While Still Firm
How do you build a cake that won’t slide or sag? You work with frozen layers while they’re still firm. Pull your wrapped layers from the freezer about 30 minutes before stacking. They’ll thaw slightly but stay solid enough to handle without breaking.
Stack and fill your layers using this method:
- Unwrap your layers and place the first one on your cake board.
- Spread your filling evenly, keeping it ½ inch from the edge.
- Add the next layer and press gently to seal.
- Check that everything is level before moving on.
Your thawing time matters here. If layers get too soft, they’ll shift. Once stacked, you’ll apply your crumb coat next. Plan your schedule so you don’t rush. A firm foundation prevents your finished cake from sliding or sagging during decorating and serving.

Nonstick and SturdyConstruction: Made of carbon steel with a food-safe nonstick coating, the cooling rack prevents sticking and ensures even cooling while providing long-lasting durability and easy cleaning.

HEALTHY MATERIAL - E-far round cooling racks are made of pure stainless steel to ensure no harmful substance into food, Rust free and healthy racks to meet your daily kitchen use

Heavy Duty Stainless Steel, Sturdy Construction - Engineered for supreme durability and rust/warp resistance. Provides optimum support and prevents baked goods from slipping through the rack.
Dirty Ice and Refreeze for 20 Minutes
A thin layer of frosting locks in your crumbs and preps your cake for its final coat. This crumb coating catches loose bits so they don’t mix into your pretty finish. Spread it thin, then pop your cake into the freezer for 20 minutes. This quick chill firms the frosting and seals everything in place.
When you freeze between coats, you’re building a smooth base for what’s next. The cold hardens the butter in your frosting, making it much easier to add another layer without smudges or crumbs. Watch for condensation. If beads form, your cake needs more time wrapped tight or a few extra minutes frozen. After 20 minutes, your crumb coat feels solid to the touch, and you’re ready to continue applying the next layer.

Premium Cake Wrap Roll: This 4 in wide by 600 in (50 ft) long cake collar roll is ideal for cheesecakes, mousse cakes, milk bar cakes, chocolate work, and lining cake rings. The 125 micron thickness provides strong yet flexible support for smooth, clean edges.

Elegant Precision: Achieve flawless cake edges and a transparent finish, elevating your dessert presentation to professional levels.

Saran Original is so durable that it withstands both hot and cold temperatures - from freezer to microwave
Manage Condensation Before Final Frosting
Where does that wetness come from when you pull your cake from the freezer? That’s condensation forming during thawing, and it can ruin your crumb coat if you don’t manage it right. Freezing is only half the battle.
Here’s how you keep your cake perfect:
- Keep your cake wrapped tight while it thaws to stop moisture from gathering on the surface.
- Let your crumb-coated cake rest in the freezer for 20 minutes first so the coat sets firm.
- Thaw only partially, or keep wrapping on, so condensation stays off your frosting.
- Blot any wet spots gently with a clean towel. Don’t re-warm the cake or you’ll dilute your work.
Your final frosting will go on smooth, dry, and ready to apply.

Package Includes: One (1) Reynolds Wrap Everyday Strength Aluminum Foil Roll measuring 100 feet long by 12 inches wide (100 square feet total)

SPECIFICATIONS: Our single sheets aluminum foil measuring 9" x 10.75" or 12" x 10.75" come in a pop-up dispenser. With 200 or 500 individual precut aluminum sheets per box, these foil squares come in handy for cooking or storing food.
SUPERIOR HEAT RETENTION: Built from heavy-duty aluminum, these pop-up foil sheets secure optimal heat retention, maintaining the warmth of the food. Keep hamburgers, hot dogs, and sandwiches warm!
Add Fondant Using Moisture Beads, Not Misting
Once your cake is ready for fondant, use small beads of moisture instead of misting the whole thing. This approach helps the fondant stick without creating a soggy surface. The technique maintains just the right amount of water on the surface so your fondant lays smooth and doesn’t slide around or tear. Watch for tiny droplets forming on the buttercream, then roll out your fondant and place it gently while those beads are still fresh.
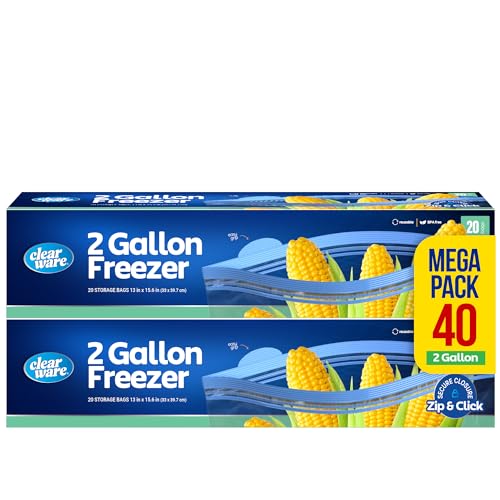
CAPACITY: Extra-large 2-gallon size perfect for storing and freezing bulk items, meal prep portions, or large household supplies

Preparing Meals Made Easier: Simplify your cooking process with our food storage bags. Store meats and vegetables in portion-sized batches for easy meal prep. When it's time to cook, simply grab a bag with the right portion. These bags are also perfect for marinating meats.

{Designed for Personalized, Flexible Organization} Our resealable storage bags are crafted to cater to your unique and flexible storage needs. Whether you're organizing clothes, toys, seasonal decorations, or everyday essentials, these bags make it easy to keep everything in its place. Designed to help you maximize your space, these bags ensure that your belongings are neatly stored and easily accessible, creating a more organized and clutter-free environment.
Moisture Bead Technique
When you’re ready to cover your cake with fondant, skip the spray bottle and try moisture beads instead. These tiny droplets provide better moisture control than misting and help create perfect fondant adhesion without soggy spots. Beads form naturally when your buttercream surface holds just enough moisture; this is your ideal starting point.
To master the technique:
- Chill your frosted cake until the buttercream feels firm and cool to your touch.
- Run your hand over the surface to check for slight tackiness, which indicates moisture beads are forming.
- Cover immediately once you spot tiny droplets, not pools of water.
- Work quickly so beads stay small and your fondant seals smoothly.
This method produces consistent, reliable results for cake decorating.
Fondant Adhesion Benefits
Moisture beads set the stage for your next move: getting that fondant to stick just right. You want that fondant adhesion to feel secure, not slippery. Moisture beads give you a tacky surface without drowning your cake.
Skip the spray bottle. Misting leaves you guessing, and puddles ruin everything. Instead, you press moisture beads gently across your buttercream base. The beads melt slightly, creating just enough grip for the fondant to grab hold.
Your buttercream base matters too. Spread it a bit thicker than usual, about one-quarter inch. This gives the fondant something to sink into, while moisture beads lock the bond.
Watch for shine. If beads pool, dab them away with a paper towel. You are building a foundation that holds, keeping your fondant smooth and stable.
Avoiding Excess Water
Why risk soggy fondant when you can control every drop? You’re about to master moisture control.
Here’s how beading moisture changes your fondant adhesion:
- Dab tiny water beads across your crumb coat, don’t spray.
- Keep beads small, like morning dew, not puddles.
- Feel the surface; it should tack slightly, never drip.
- Smooth fondant on within two minutes, before beads dry.
You skip misting entirely. No more surprise soggy edges, no bloom ruining your finish. Moisture control lives in those precise beads, giving you predictable grip every time. Your fondant hugs the cake evenly with no bubbles and no sliding. This technique produces consistent, professional results.
Bake Same-Day When Freezing Won’t Work
Sometimes your schedule just won’t allow for an overnight freeze, and that’s perfectly okay. You can still create a beautiful cake with same-day baking.
When you choose same-day baking over a freeze, you’ll skip the freezing step entirely. Bake your cake early in the morning, then let it cool completely at room temperature. This usually takes one to two hours. Once cooled, wrap your layers and pop them into the refrigerator for thirty minutes to one hour. This brief chill firms up the crumb without freezing solid.
You’ll find the frosting spreads smoothly over these slightly chilled layers. Level your cake, apply a thin crumb coat, chill another fifteen minutes, then finish with your final frosting layer. Your guests won’t know you skipped the freeze; they’ll just taste your delicious, fresh creation.

✔ FROSTING CAKES QUICKLY AND EASILY: ★9.2-inch blade (total 13.9" ) straight icing spatula is perfect for making layered cakes and spreading on a crumb layer evenly and smooth quickly and easily.


High Quality Cake Scraper: Teenitor cake smoother is made from high grade PP plastic to guard your healthy and safe life. Very sturdy and easy to use. High-quality plastic that can withstand repeated use and cleaning